Hey guys,
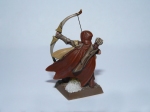
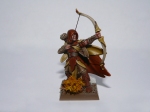
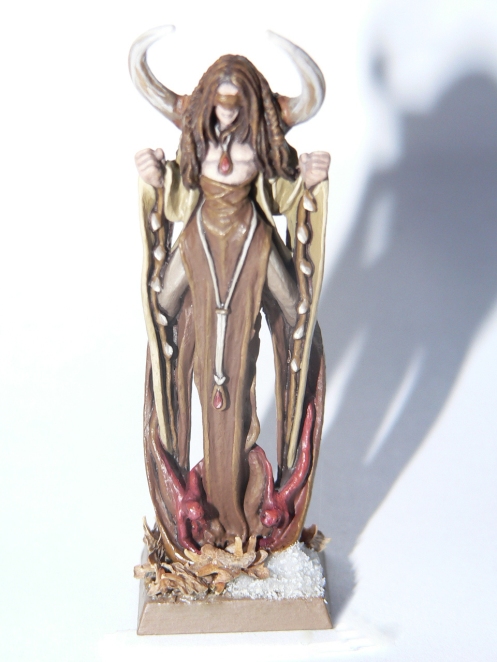
After hearing from Peter ( The Aspect Portal and his new site The Forlorn Forest ), he mentioned for me to do a little tutorial on how I went about creating a bow-string for my recently finished Glade Guard model. Now it literally takes about 15 minutes, if that. Once you have formed a routine, the time will be reduced, and before you know it you will have an entire unit equipped with bow-strings. Please click the images for a larger view. Now on to the easy bit, my equipment:
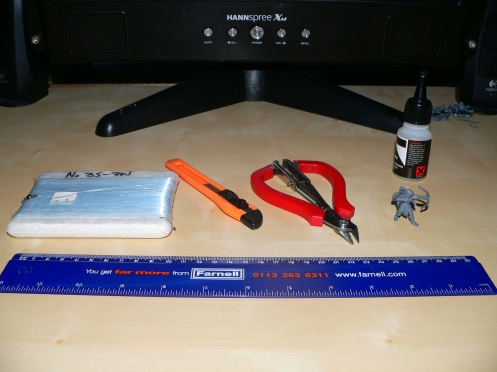
Now you will notice I have 0.2mm thin fishing line (easy to get hold of – some hobby shops stock thin line/cable like this, and every fishing tackle shop does too), a full length ruler, a stanley knife, a pair of wire cutters (these can be replaced with scissors or clippers), some super glue and of course a Glade Guard model. A pair of tweezers could also be very useful to help you position the string when it is ready. After collecting your equipment, the next step is to measure the amount of fishing line that you will need to cut. I did this by roughly measuring the length between the Glade Guard’s fingers, and the tip of the bow. I did this again for the lower piece of line as it will need to be cut in to 2 separate pieces as follows:
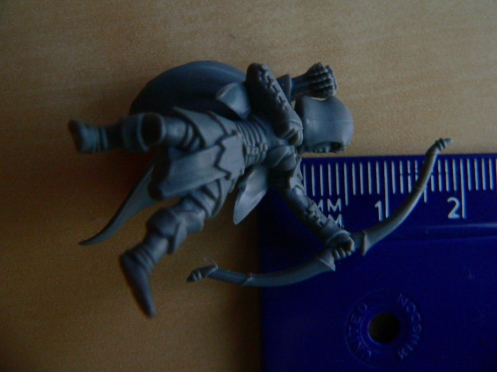
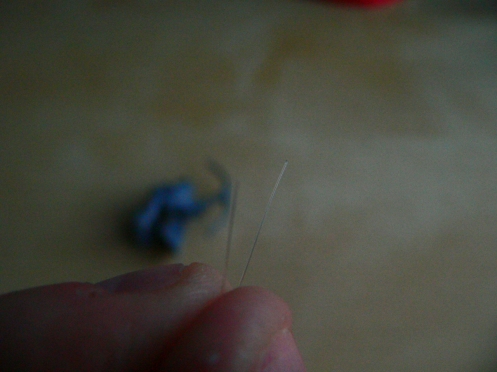
Once you have your 2 pieces of line, the next step is to use the very tip of your knife to indent a tiny hole in to both arms of the bow, where one end of each piece of line will be glued shortly:
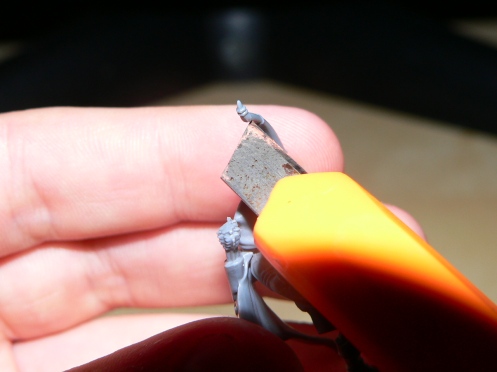
Once you have scored yourself 2 tiny marks where the line will be attached to, it is time to get out the super glue. Now carefully touch the tip of the first piece of line in to the superglue and using tweezers to avoid glueing your fingers, place the glued end roughly in to the tiny mark you made on the bow. Hold it there until it dries which should take a few seconds with the majority of superglue. Now make sure that the other end of the line fits neatly in to the finger joints, and if it is too long, carefully cut the neccessary amount away to create a proper fit. If it is too short, then uh oh, time to detach the line from the bow completely and cut yourself a new piece! Once attached at the bow and the finger joints, your model should resemble this:
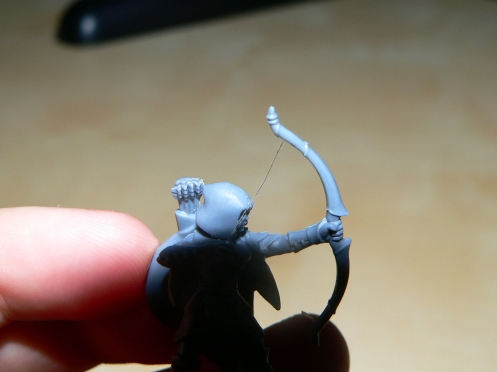
Now do the same for the lower half of the bow with the other piece of line, and a key point to remember is not to worry too much if there is a slight bend in either piece of your line, as it will only add to the authenticity of the model resembling the way that a real piece of bow-string would bend and move. Once this is finished, you should let it dry for a few minutes if you are planning on painting immediately, but if not, it should look like the following, with both pieces of line appearing to form one complete line from the top of the bow, through the fingers, and down to the bottom of the bow. Please keep in mind that it looks even more effective if you position your model as if they are about to fire, or have just fired as I have tried to do here:
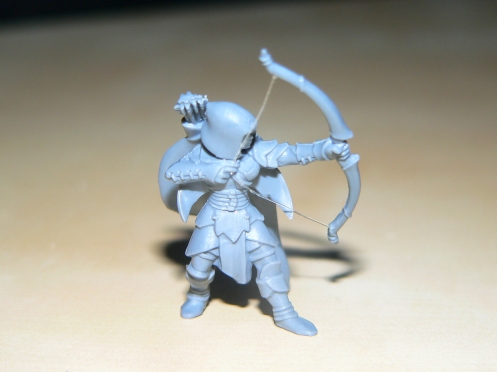
I hope this tutorial has made sense to everyone, and I hope you enjoy the results for yourselves. Any questions, comments or feedback is more than welcome, and thanks for stopping by to read this through!
Posted in Tutorials


